


Overview
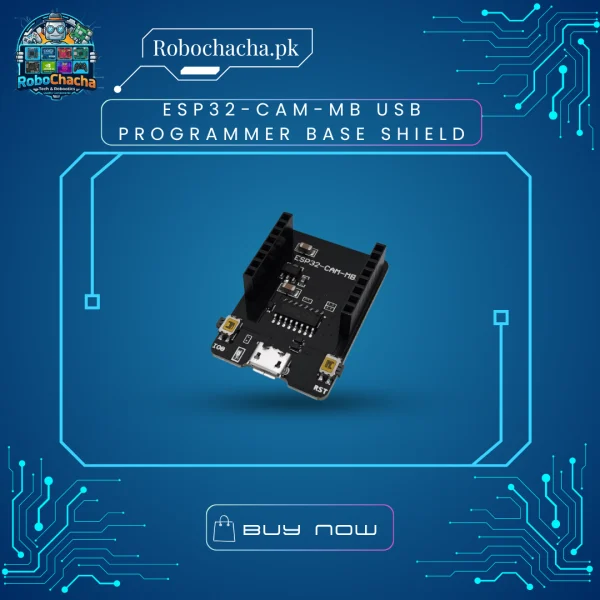
The ESP32-CAM-MB Shield is a dedicated programmer and power delivery baseboard designed specifically for the standard AI-Thinker ESP32-CAM module. Flashing code to a standalone camera module normally requires manually grounding GPIO 0, setting up an external serial converter, and wrestling with timing resets.
This baseboard eliminates all that hassle. Equipped with the highly stable CH340G USB-to-UART chip and dual tactile buttons (Reset and IO0/Download), it handles the entire flashing sequence automatically from the Arduino IDE or ESP-IDF, while providing a clean, stable 5V power line over a single USB cable.
Key Features
True Plug-and-Play Flashing: Features full auto-reset circuit logic—upload your camera web server scripts with a single click in the IDE.
Onboard Hardware Controls: Includes a dedicated RST (Reset) button and IO0 (Boot) button for manual override and firmware debugging if needed.
Micro-USB Interface: Replaces complicated Dupont wiring setups with a universal, rigid micro-USB data connection.
Stable Power Regulation: Steps down standard 5V USB input to a clean 3.3V power rail to prevent camera brownouts and image artifacts.
Technical Specifications
| Feature | Specification |
| Model | ESP32-CAM-MB V1.0 |
| Communication Chip | CH340G (USB to TTL Serial Driver) |
| Input Interface | Micro-USB (Power & Data Transfer) |
| Operating Voltage | 5V DC (via USB) |
| Pin Header Layout | 2×8 Pin Female Headers (Matches standard ESP32-CAM) |
| Board Dimensions | 40mm x 27mm x 12mm |
How to Use It
Align the pins of your ESP32-CAM module with the female headers on the MB Base (the camera lens should face away from the USB port).
Press down gently until firmly seated.
Plug in a micro-USB data cable to your PC.
Select “AI Thinker ESP32-CAM” in your Arduino IDE, match the COM port, and hit Upload!


Reviews
Clear filtersThere are no reviews yet.